Burchfield Park, Holt, MI
October 26th, 2013
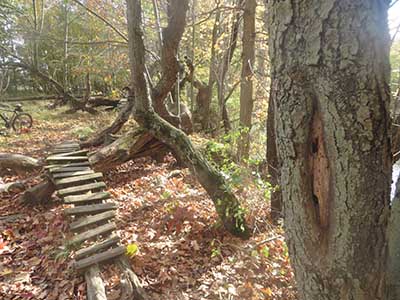
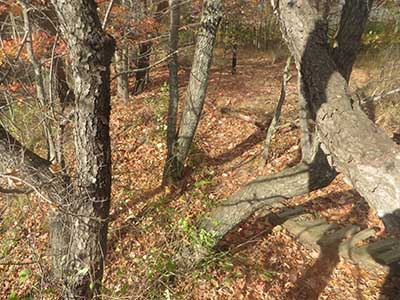
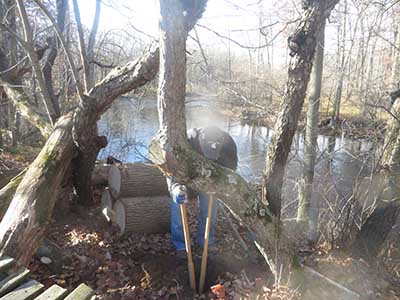
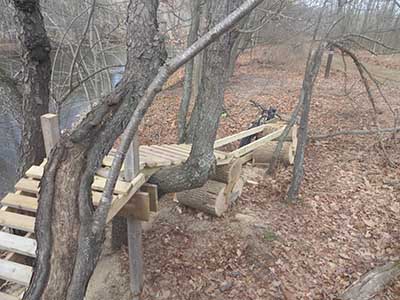
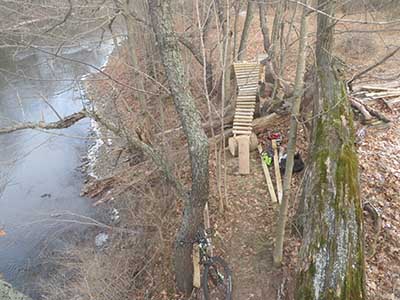
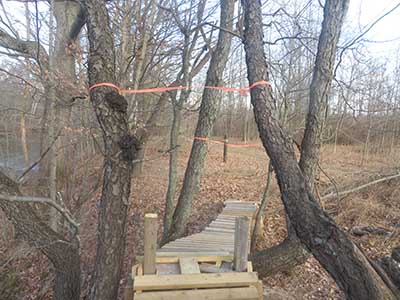
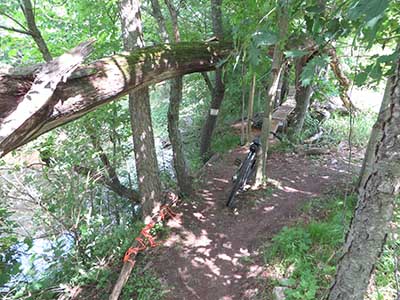
With Jeff the Trail Co-ordinator, looking at replacing deteriorating decking on the Dragon's Back stunts of the Dragonball Run trail. We spotted an interesting line running parallel to the two older stunts. Look to the right over top of the angled tree.
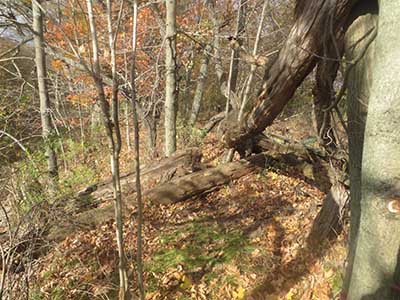
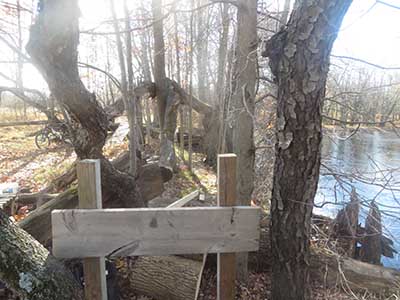
From the other side, looking in the direction of travel. Dead center, see that angled tree?
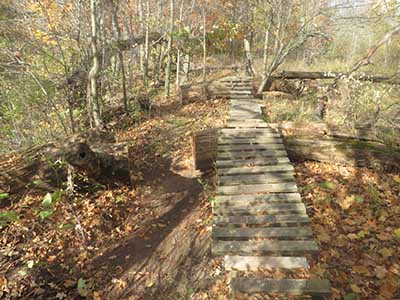
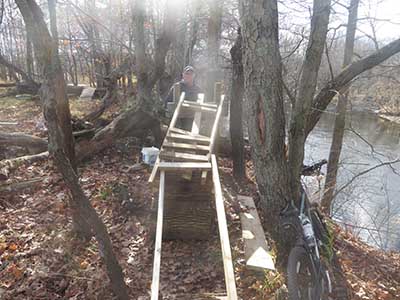
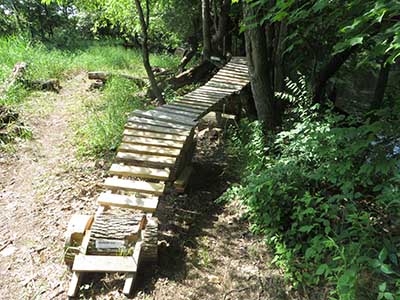
Looking toward the entry area. Lots of interesting character here with old deadfall to ride around ... and under. This line has a very tunnel-like feel to it. Since it is right beside the Dragon's Back, this one will be called the Dragon's Throat.
Cut a new line at the Dragonball Run entry area, running left and parallel to the Dragon's Back line. It can also be a bypass for those who don't want to ride the Dragon's Back, bailing to the right before going under the old fallen tree mentioned and shown in the previous photo.
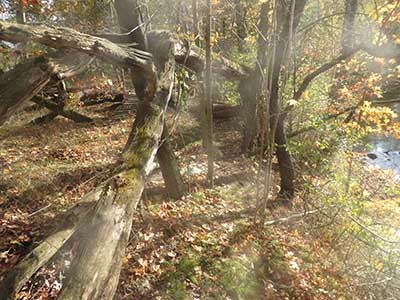
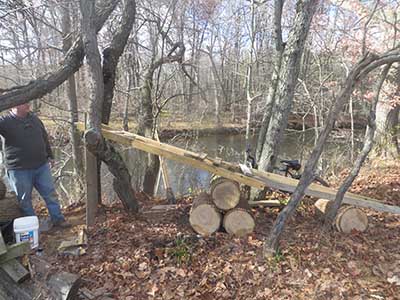
Looking over the angled tree to the potential exit.
November 3rd, 2013
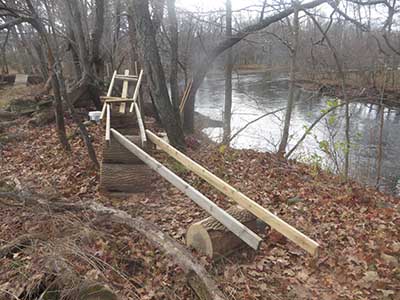
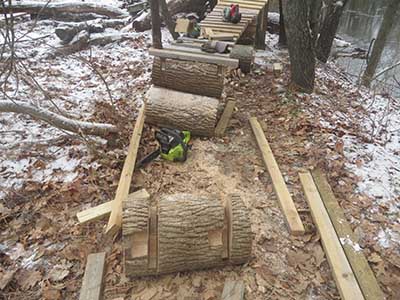
Planning stages, setting up stringers in position to visualize the line. Note the large block being used as a foundation - the park was nice enough to move 18 such blocks for us from Looman's Run.
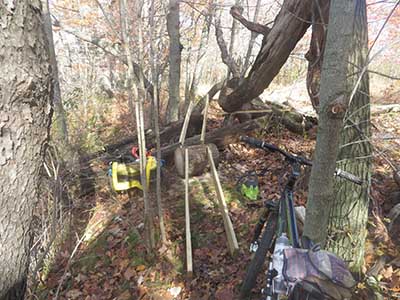
These pieces were pretty heavy to work with, so I used boards as ramps and rolled them up! Nice round blocks, it made it a lot easier.
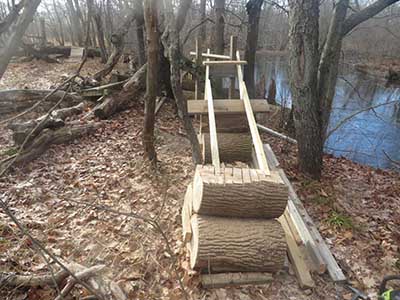
Three blocks used as a foundation. Later, we'll nail support boards between all three of the blocks to make sure they don't spread out in the future.
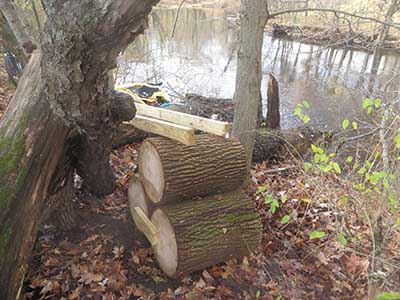
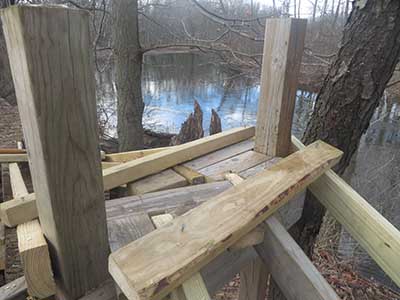
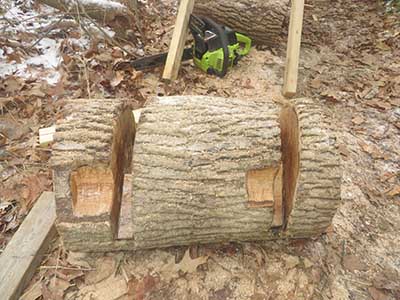
The view back toward the entry. Notches will be cut in the support block (and waterproofed) for the stringers to sit tight in.

November 10th, 2013
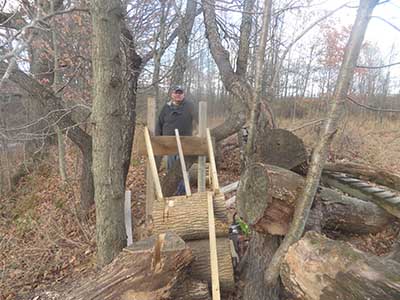
Jeff digging a post hole for the peak of the line - it's too high for the block method, unless we wanted to use six blocks, and even then, the trees would have been in the way.
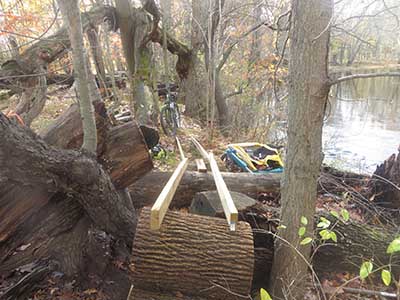
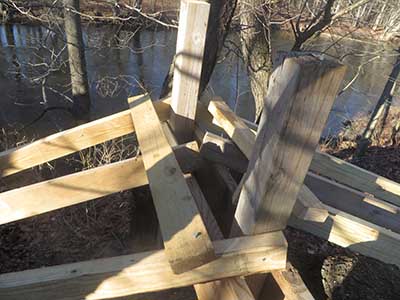
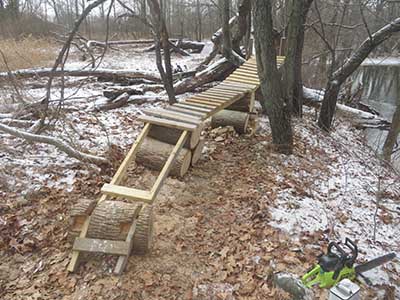
The view back to the entry from the peak, over top of a 2"x 8" cross-stringer.
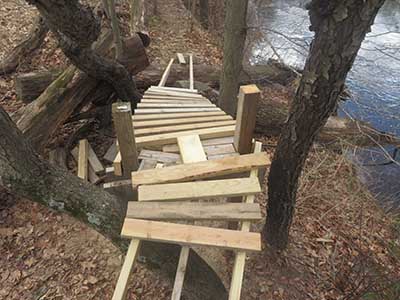
Planning stages for the exit. None of these boards are nailed in place, so we can't get a bike up there, but it is very helpful anyway.
Jeff surveys the exit line - it's a tight fit through these trees. It's kind of like a tunnel through the trees, which gives it a cool character compared to something built in the open air. It also gives us lots of stuff to grab onto if we need to.
Planning the final exit sections. A bit of a corner here adds to the character, and gets riders back onto the original trail.
We are putting a wide deck at the highest point of the stunt - wide enough that we felt we should put three stringers underneath the deck to take the weight. Lots of width to put a foot down should it be needed.
November 23rd and 24th, 2013
Shaved the top off of this 3-block foundation to lower the height of it.
At the peak, setting up a way to indicate to riders where their front tires should go, because it's a tight squeeze at the top.
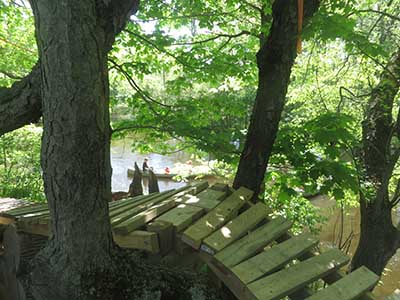
Jigsawed a lower deck onto the cross stringers. Note the nice view to the river, this is a great place to build. I saw two flocks of geese following the river South on this day, maybe only 30 feet above the water. Flying under the radar, I guess.
Laid a 2"x6" piece onto the lower deck to indicate to riders where to put the front tire. If the front tire is to the left or right of this particular board, the handlebars will hit the trees. Like I mentioned before, it's a tight squeeze. If this stunt line is called Dragon's Throat, then this must be the UVULA! Maybe I'll paint it red ...
I put on some of the upper deck boards so that I could roll the bike back and forth and find the right position for the uvula. The deck boards on the lower sections won't be put in place until the very end, to stop people from riding up onto unfinished work.
A wide view from the side. Note the underside of the old downramp, sitting on top of the old line that is being replaced. It's amazing that it lasted for so many years. I hope this is a good indication that the wood I'm building on will last a long time. The waterproofing will help, I'm sure.
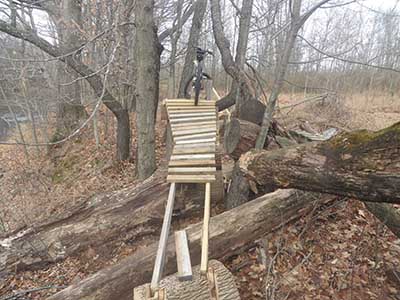
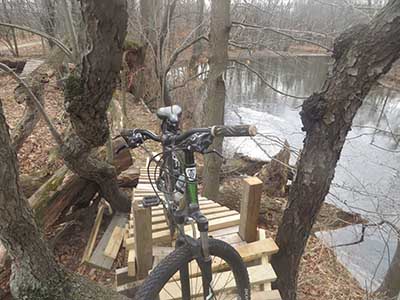
The bike is facing the direction of the ride, and you can see how tight it is up here.
The peak is a bit up off the ground, but it's the lowest we could go because of the angled tree. Like I said, this line is like a tunnel. Maybe an elevated tunnel ...
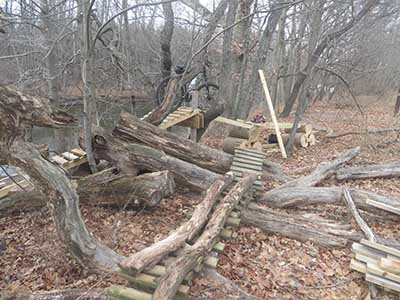
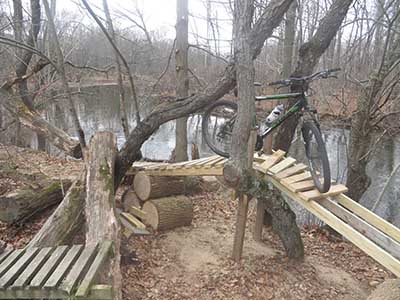
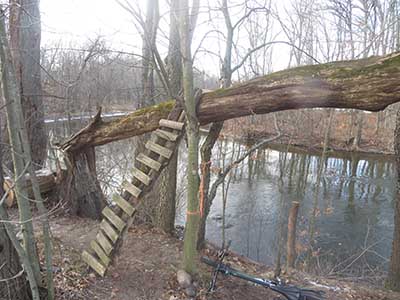
A nice wide view showing the river and the two older lines on the left. The one furthest away will still be usable, and though you can't see it in this picture, that downramp is a recent replacement. The old one was looking pretty scary, but it served us well for more than ten years. I wonder how many times it was ridden?
A different angle this time, you can see how wide the deck boards are up top.
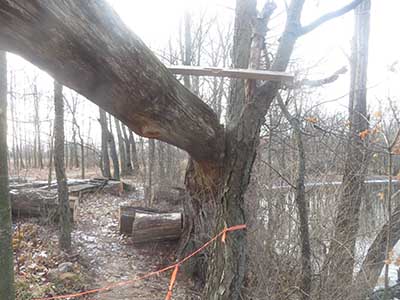
Looking toward the exit from the same spot. Note this interesting tree - it actually serves as a guardrail for us at the peak.
November 28th, 2013
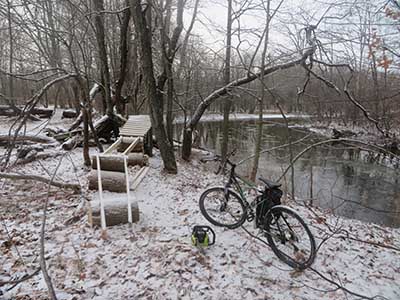
Arriving at the build site, the below-freezing cold and a small amount of snow wouldn't interfere with the construction at all, it was pretty comfortable with two pairs of socks, two pairs of jeans, and three shirts plus a jacket!
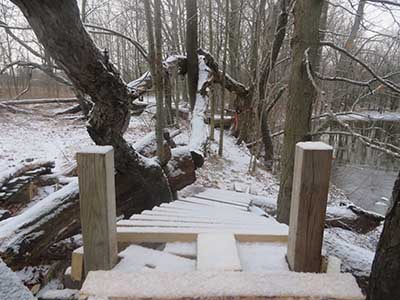
We've seen this already, but not with snow on it. The uvula and tonsils ...
Continuing to put deck boards on the exit sections. This join between two sections was going to be uneven, so I counter-sunk a board into the stringer just a small amount, not enough to weaken it very much.
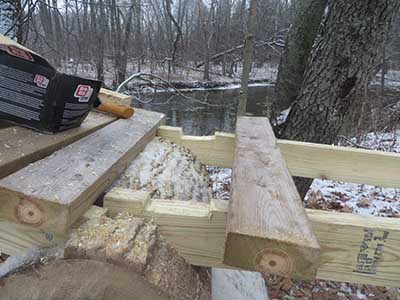
Finishing the foundation for the exit - it has to be difficult enough that only advanced riders can get up on it. If an inexperienced rider is going to fall off of this stunt line, I want it to be low.
Waterproofing, water channels, and pockets carved into the front to provide more room to hammer in the nails that will be holding the final small stringers in place.
Other than needing the final deck boards, this exit is done.
November 30th, 2013
A warmer day today, working on the entry ramp foundation. This is a test ramp so that I can ride it and see what sort of adjustments need to be made. It actually rode well right away.
The view from up top, on the deadfall that riders will go under on the approach to the Dragon's Throat. Yes, kind of like an open mouth ...
Setting up a custom-carved camera stand up top, to record videos of the test rides. Feel free to use it, if your camera fits. The bent-over nail on the right is for my camera's wrist strap, so that the camera won't fall the eight feet to the ground!
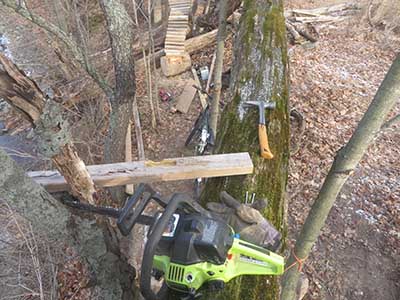
I found a use for the old sketchy downramp - using it as a ladder to get up and hit "Record" on the camera. No, it's not a new advanced line :-)
The camera stand, and a view of the approach line. For videos of the test ride, see the main Mountain Biking page on my site.
Even though I've ridden (most of) it now, it still needs to be closed to the general public. We need to get the final stabilization and the final decking done.
December 2nd, 2013
Today, Jeff and I finished the decking and filmed some test rides. We decided to cut out the posts and fill in where the uvula was ... a tonsillectomy? Nice and smooth.
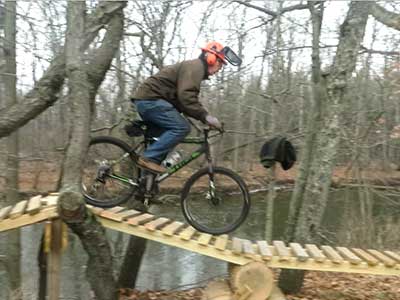
A screen shot from the video of the test ride. Wishing we had taken Jeff's jacket off of the tree branch in the background! Note my nice cycling apparel ...
The video, with a nice panorama of the site to start off with. After these test rides, we removed the entry and exit ramps and orange-flagged the stunt to keep people off of it until we could finish it up by adding some safety features. Since winter was just hitting and the temperatures were low, nobody would miss it for a few months anyway.
May 24th, 2014
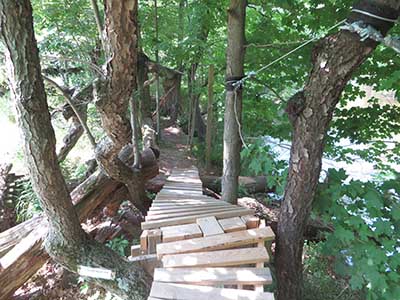
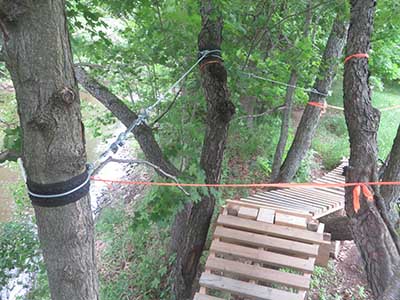
As you can see from the vegetation, winter finally ended - it was an unusually rough winter this year. We added three spans of cabling to give people something to grab onto if they got into trouble.
Cut-up bicycle tires were used to protect the trees from the vinyl-coated cables. Bike tires are surprisingly difficult to cut, they have two metal loops where the tires touch the rim, and I couldn't cut through them, even with tin snips. I had to cut around them and discard them. I got to learn about wire rope clamps and turnbuckles, too.
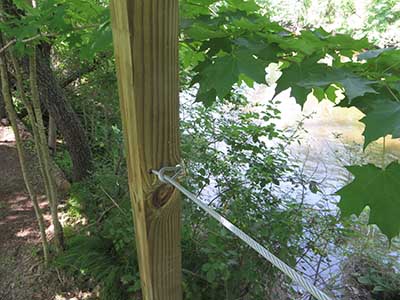
We had to plant one post, at the entry. It is very close to the edge of the drop into the river. On one test-ride I was off-balance at the entry and grabbed hard onto this post. Without it, I might have gone over the edge, so it was worth the effort to put this safety system into place.
June 22nd, 2014
We are so close to the river that we can hear people talking as they go by in their canoes and kayaks. I heard several talking about the stunt and how they would not ride it!
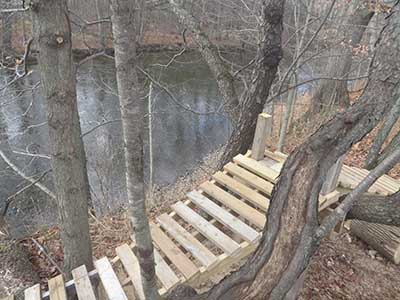
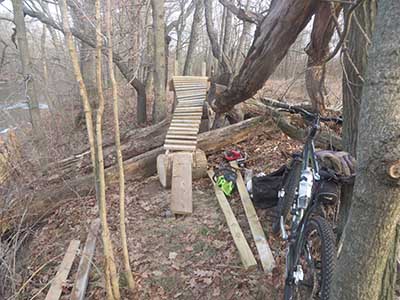
You can see how close the entry is to the drop-off. You can't tell from the picture, but there's about a 10-foot drop into the water. When the water is lower, it's a drop onto rocks. There ARE some thorns to slow the fall, however. With the post and cable, nobody should ever go over the edge. The cable is just out of view in this photograph, it is a few inches above handlebar level, so it's easy to grab onto.
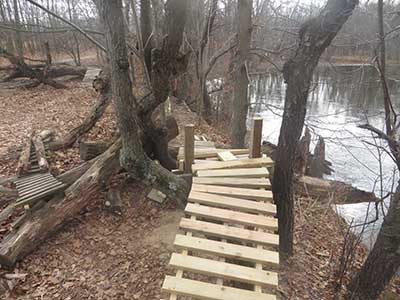
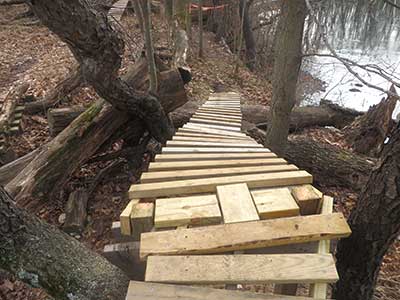
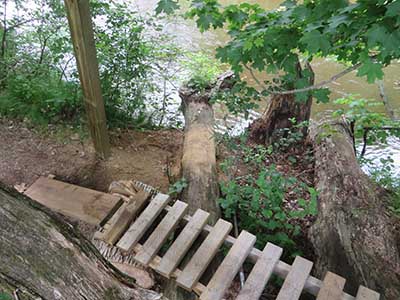
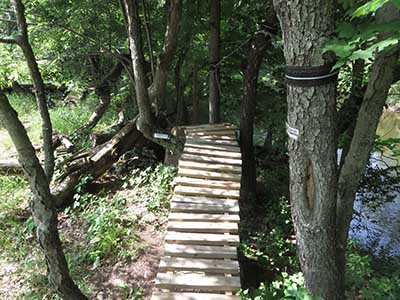
This is the completed exit. It doesn't look like much, but the final log piece sticks up above the deck and makes it difficult to ride the stunt backwards. This was intentional, since the official direction of the trail makes this piece the exit, not an entrance. Riding it backwards is somewhat riskier, since riders will be going much faster when they are nearest the river. We figure anybody skilled enough to ride it backwards won't have any trouble staying on the deck.
June 22nd, 2014
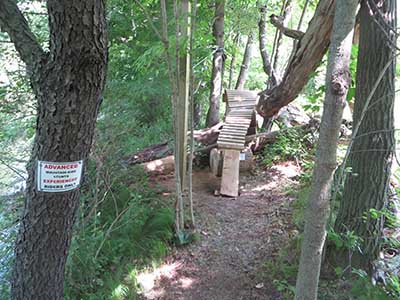
We put up some signage, in case it's not already obvious that this is an advanced stunt. In this picture, you can see the cable stretching between the post and the first tree on the left of the deck. This signage is for riders, and indicates that only experienced riders should ride this advanced mountain bike stunt.
We also put signage near the exit, so that people know not to sit on here to watch the river go by, or to put their little kids up on top for photo opportunities. The signs indicate that high-speed mountain bikes may run them over. Some people have actually asked me what these things are for, as I'm building them.
June 22nd, 2014
The first test ride after all of the cabling and signage was put into place. With about 20 test-rides forward and 10 backwards, I never had to touch the cables, it's a pretty easy ride. On one forward ride, though, I hit the entry off-balance and had to grab the post - so I know it's in the right location!